
Transforming Your Laundry Space
A remarkable transformation recently took place in Newton, and here's a step-by-step look at how it unfolded:
Starting Fresh: Demolition and Preparation
The project kicked off with the complete removal of the old laundry space. We stripped out the tiles from the floor and walls, getting down to the slab and setting the stage for a fresh start.
Electrical and Plumbing Adjustments
We had an electrician and plumber on hand to move taps and electrical outlets. This might seem like an extra step, but it's often necessary for a sleek, modern update. If you're looking at saving costs, you can sometimes omit this. However, we needed to allow provisioning for a mixer tap.
Wall Work: A Tip for DIYers
During tile removal, we found it easier to just remove the Gyprock sheets as well. Here’s a pro tip: before putting up new Gyprock, mark the location of your timber studs. These markings are invaluable, especially if you don’t have a stud finder. They serve as a guide for when you’re attaching cabinets to the wall later, ensuring a secure and precise installation.
Floor Transformation by a Professional Tiler
Next, our tiler stepped in to lay down the screed, waterproof, and tile the floor. This is where the transformation really begins to take shape.

Design Selection and Customisation
Choosing a design from myDIY Laundries, with a few personalised tweaks, helped visualise the final look. A notable change was modifying upper cabinets to incorporate a hanging rail – a smart way to enhance functionality.
Measurement and Fit Guarantee
We ensure everything fits perfectly. By measuring on-site, we confirm all water, waste, and electrical connection locations, this is also a good option to see the board colours, and benchtop or stone colours when we visit your house.
Cabinet Installation: Ready to Go
Our cabinets arrive fully assembled, allowing for immediate installation. This speeds up the process significantly.
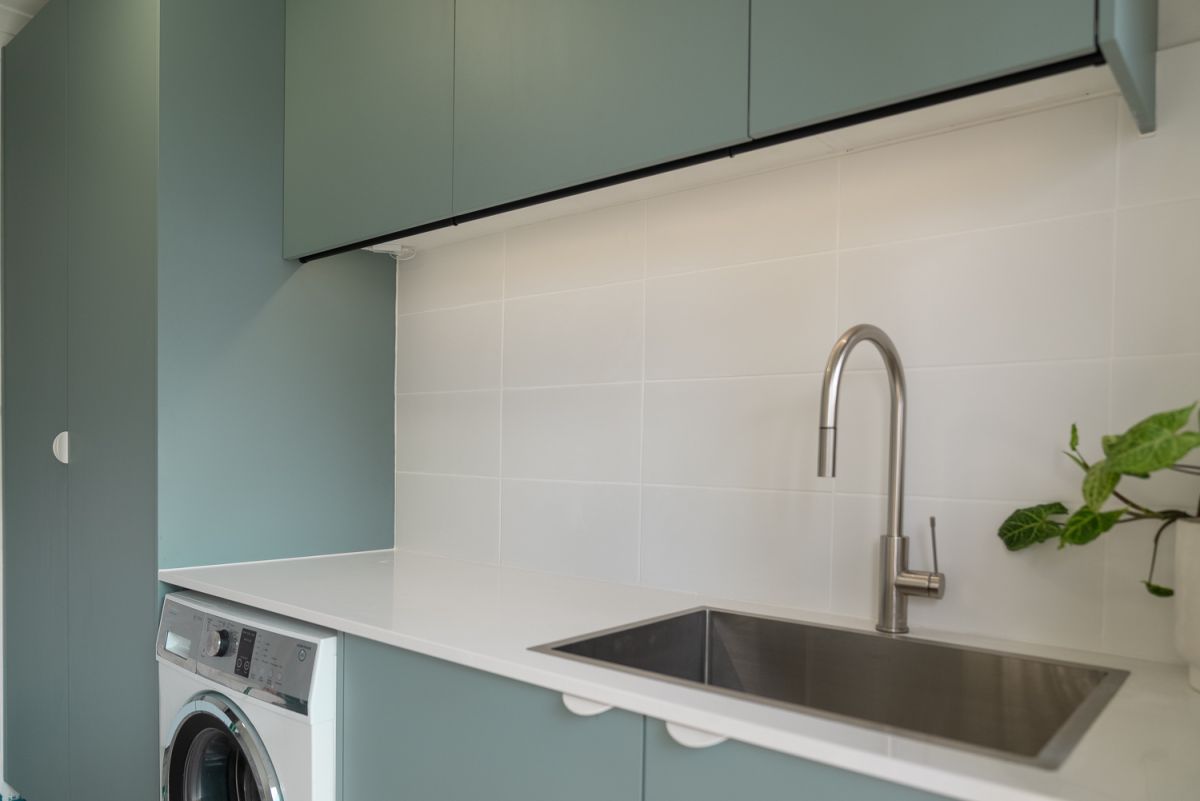
Stone Benchtop: A Touch of Elegance
After cabinet installation, a stone mason measured the site for the benchtop, ensuring a perfect fit. Remember, having your sink and tap ready at this stage is crucial for accurate fitting. (The cost of measuring, and installation of the stone benchtop is included when the option is selected.)
The Finishing Touch: Splashback and Details
The final steps involved splashback tiling, grouting, and caulking, pulling the whole look together.
This Newton project is a testament to the simplicity and effectiveness of our approach at myDIY Laundries. We focus on making the process straightforward, cost-effective, and tailored to your needs. Whether it's a custom design or a modification of an existing one, we're here to guide you through every step.
Thinking about a laundry makeover? Let's make it happen. Get in touch with us, and let’s start planning your project today.


Proudly manufactured
in South Australia
in South Australia
Free delivery in
the metro area
the metro area
Quick 15-day
turnaround
turnaround
Backed by Packers
50+ years of experience
50+ years of experience

Owned & Manufactured